


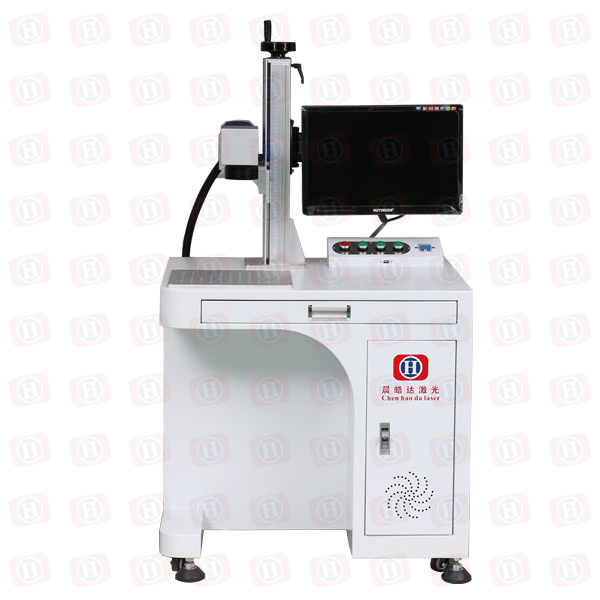
After the laser marking machine has been used for a period of time, there may be problems such as the laser marking machine not being able to mark properly or not emitting light. When we carefully checked, it was found that the vibrating lens had a problem.
At this time, we need to remove the galvanometer, send it to the manufacturer or the designated maintenance office for maintenance, and then repair it. I have to install the galvanometer. This article is mainly written from the two aspects of removing the galvanometer and installing the galvanometer.
The steps to remove the galvanometer are as follows:
1. In the case of ensuring complete power off, disassemble the incoming power cord connector of the marking head. If some models do not have this connector, then you can ignore it.
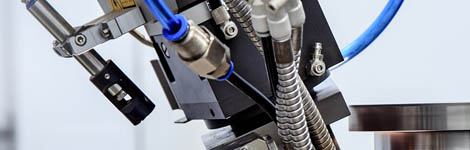
2, remove the field mirror, and protect and cover, during the operation, any items such as fingers can not collide with the field lens, especially the lens.
3, the use of hardware tools, generally for the inner corner of the hand, unscrew the marking head, be careful, in case the removed shell plate is connected to the galvanometer drive board to prevent pulling excessive force.
4. Unplug all connections, power supply lines, signal lines, and wires from the motor to the drive board.
5, remove the drive board, and put the package, then remove the Y motor, and X motor, and pay attention to packaging. Pack the drive board and the X and Y motors together so that the task of removing the galvanometer is complete and you can send it to a place where it can be repaired.
The steps to install the galvanometer are as follows:
1. First install the Y motor and the X motor, and ensure that they can not collide together at any angle.
2. Install two drive boards.
3. After connecting all the connections, test and debug the angle and depth of the galvanometer motor to ensure that the output center position of the final laser is the center of the field lens.
4. Clean up the connection, and arrange the length of the wire, etc., and then mark all the covers on the box.
5, connect the external connection, you can re-boot, at this point the laser code machine galvanometer installation is complete.
This tutorial applies to all series of laser marking machines.
(This article was originally written by Chenxi Laser. Reprinted must indicate the source: m.xxjxgg.com, cherish the labor results of others, is to respect yourself)